Haii lovelies! In this post, I'm gonna show you how to make a mini top hat out of a waterbottle!
this is what it looks like:
let's start!
Materials: water bottle, cardboard, headband, felt, scissors, hot glue, ribbon/trim, decourations
step one: cut off the bottom of a waterbottle. take the fabric covering off the headband.
Step two: place the waterbottle bottom on cardboard and draw a circle around it, as big as you want the hat brim to be.
Step three: cut out the carboard and hot glue the watterbottle bottom to it. (BE CAREFUL, plastic MELTS when hotglued!)
Step four: place the hat form on the felt and trace the brim circle. Cut two, and glue one to the bottom of the brim.
After you glue it down, be sure to cut off the excess!
Step 5: Cut the other circle in half and then cut out semi circles of each. glue on the half circles to the top of the brim. Then, cut a long rectangle of felt and hot glue it around the waterbottle peice. cut off the excess on the side but DON'T cut the excess off the top.
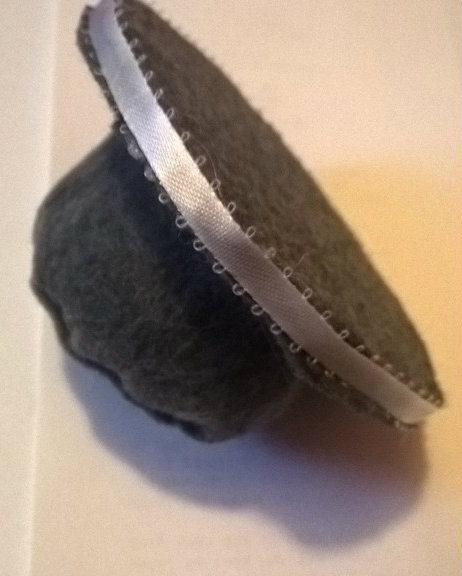
Step six: cut slits in the top of the felt that hangs over the waterbottle top, glue down the flaps one by one (for a neat finish)
Step seven: glue a felt circle ontop of flaps
Step eight: glue ribbon or trim around raw edges
Step nine: decourate and attach to a headband
step ten: now you're done and you can wear it!
baiiiii for now~


0 Comments
Type your thoughts here!